Send your first email
This guide takes you from creating an account to your first email landing in an inbox. All you need is a domain whose DNS you can edit.
Log in
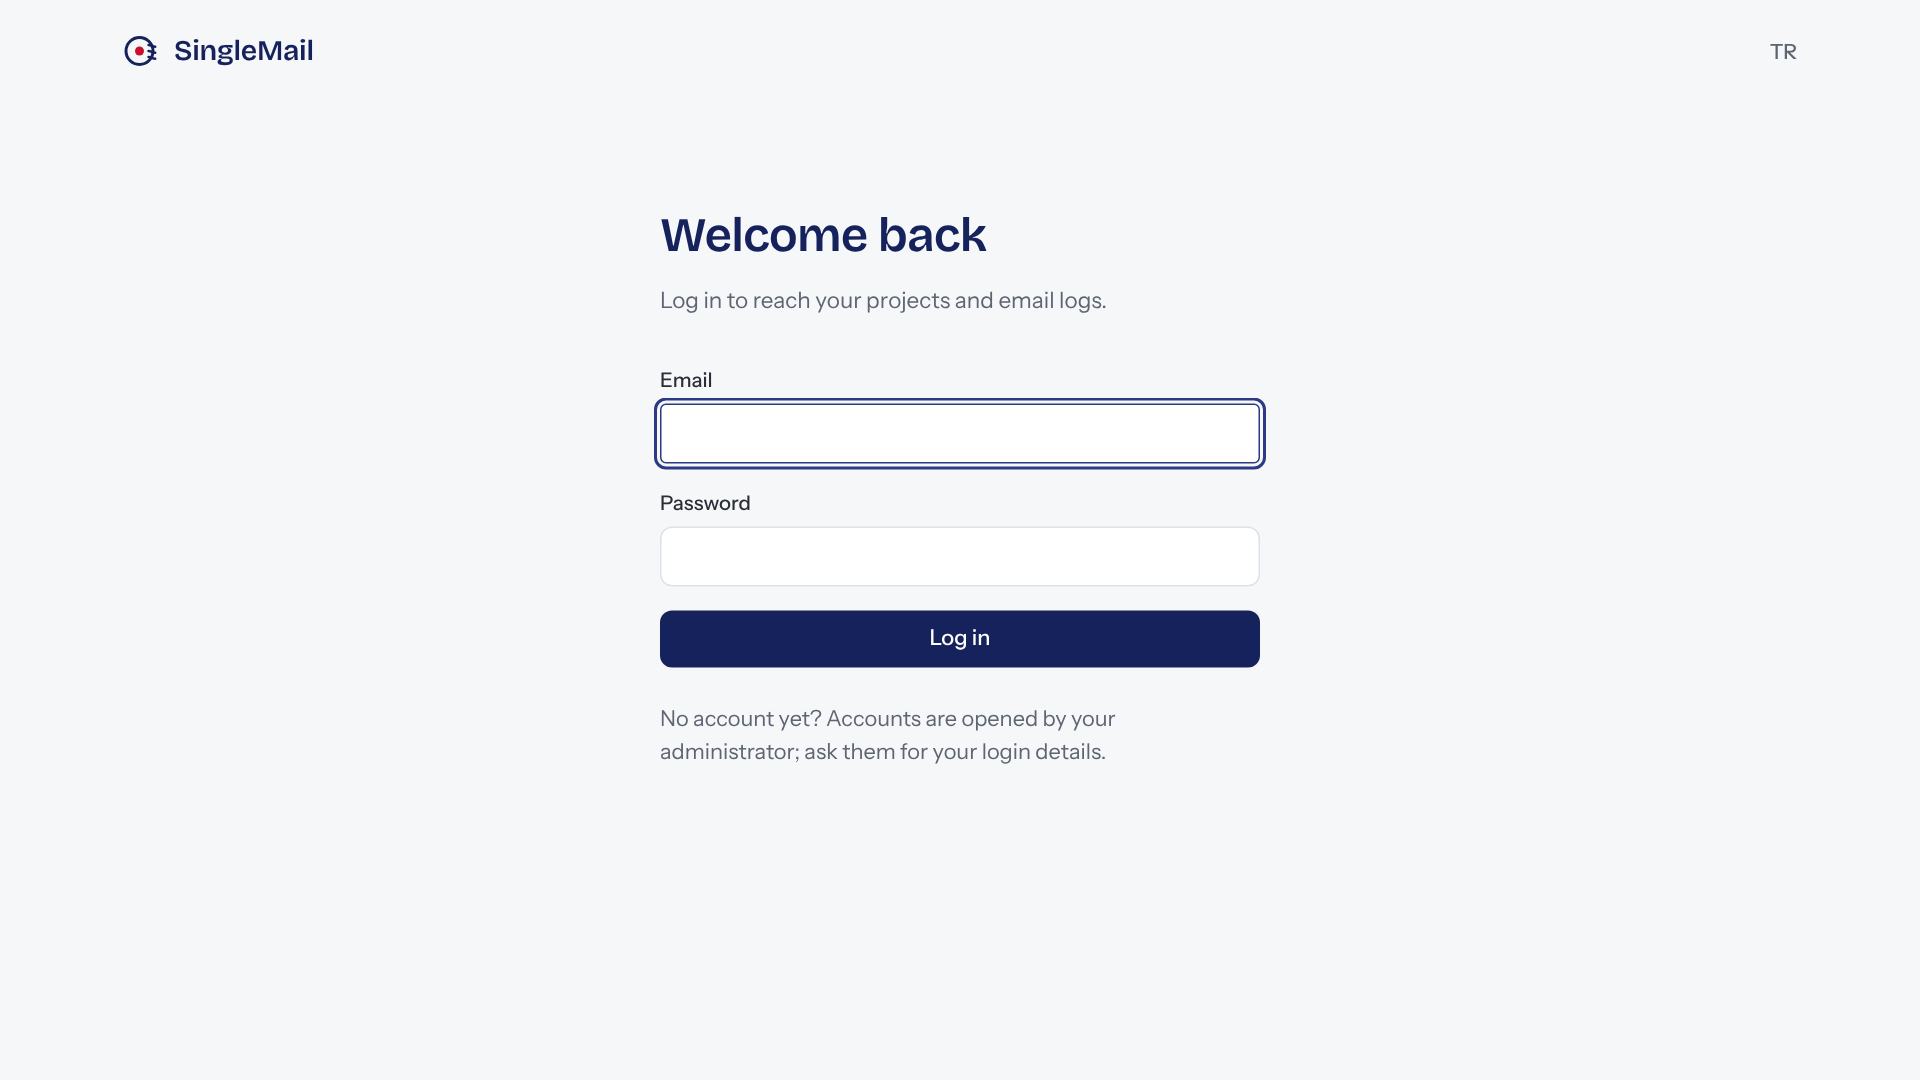
Your SingleMail administrator opens your account and sends you the login details; there is no public sign-up. On first login you replace the temporary password with your own. Your company's first project and API key are ready.
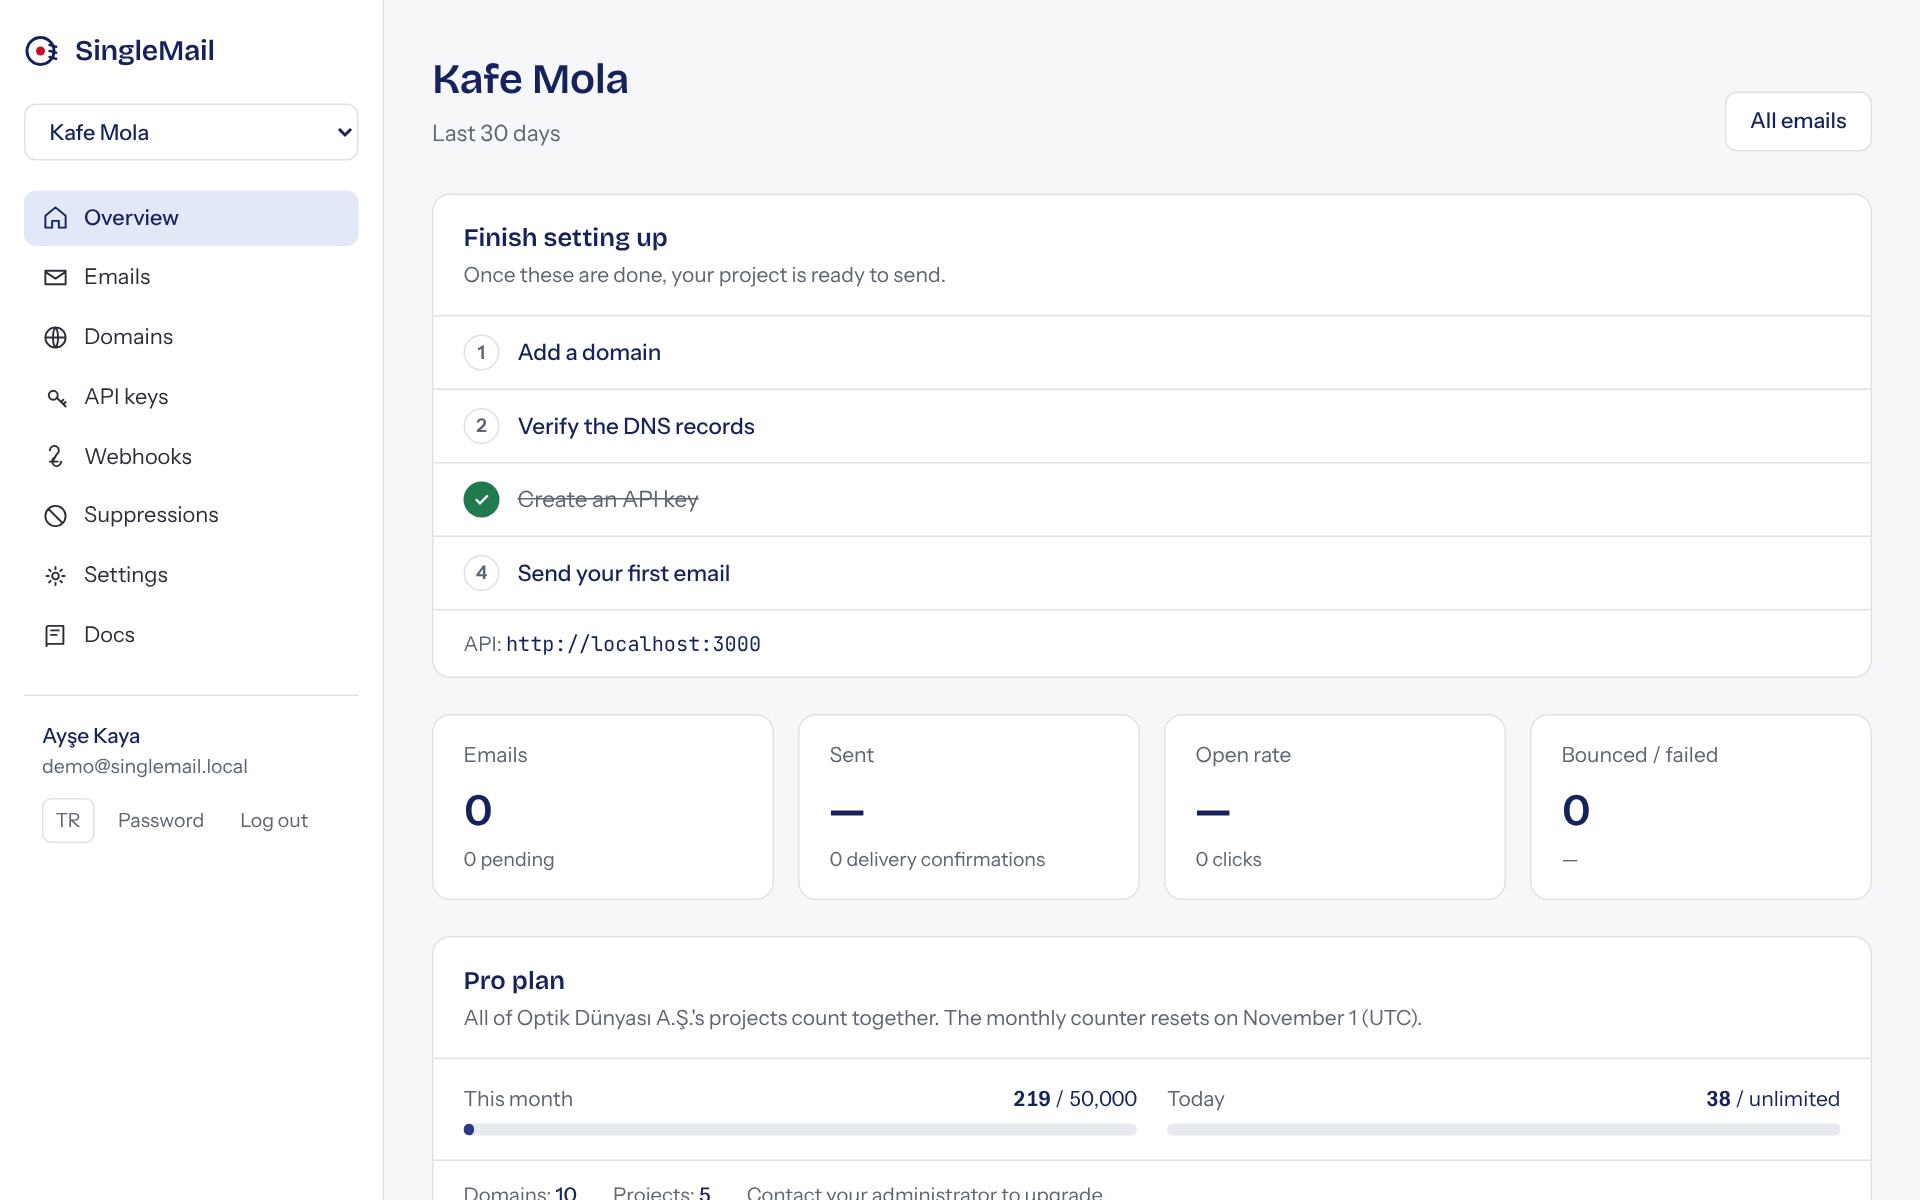
Follow the setup checklist
A new project's overview shows a four-step checklist. Each step ticks itself off as you finish it, and the list disappears when you're done.
Add a domain
Open Domains from the left menu, type your domain and press Add domain.
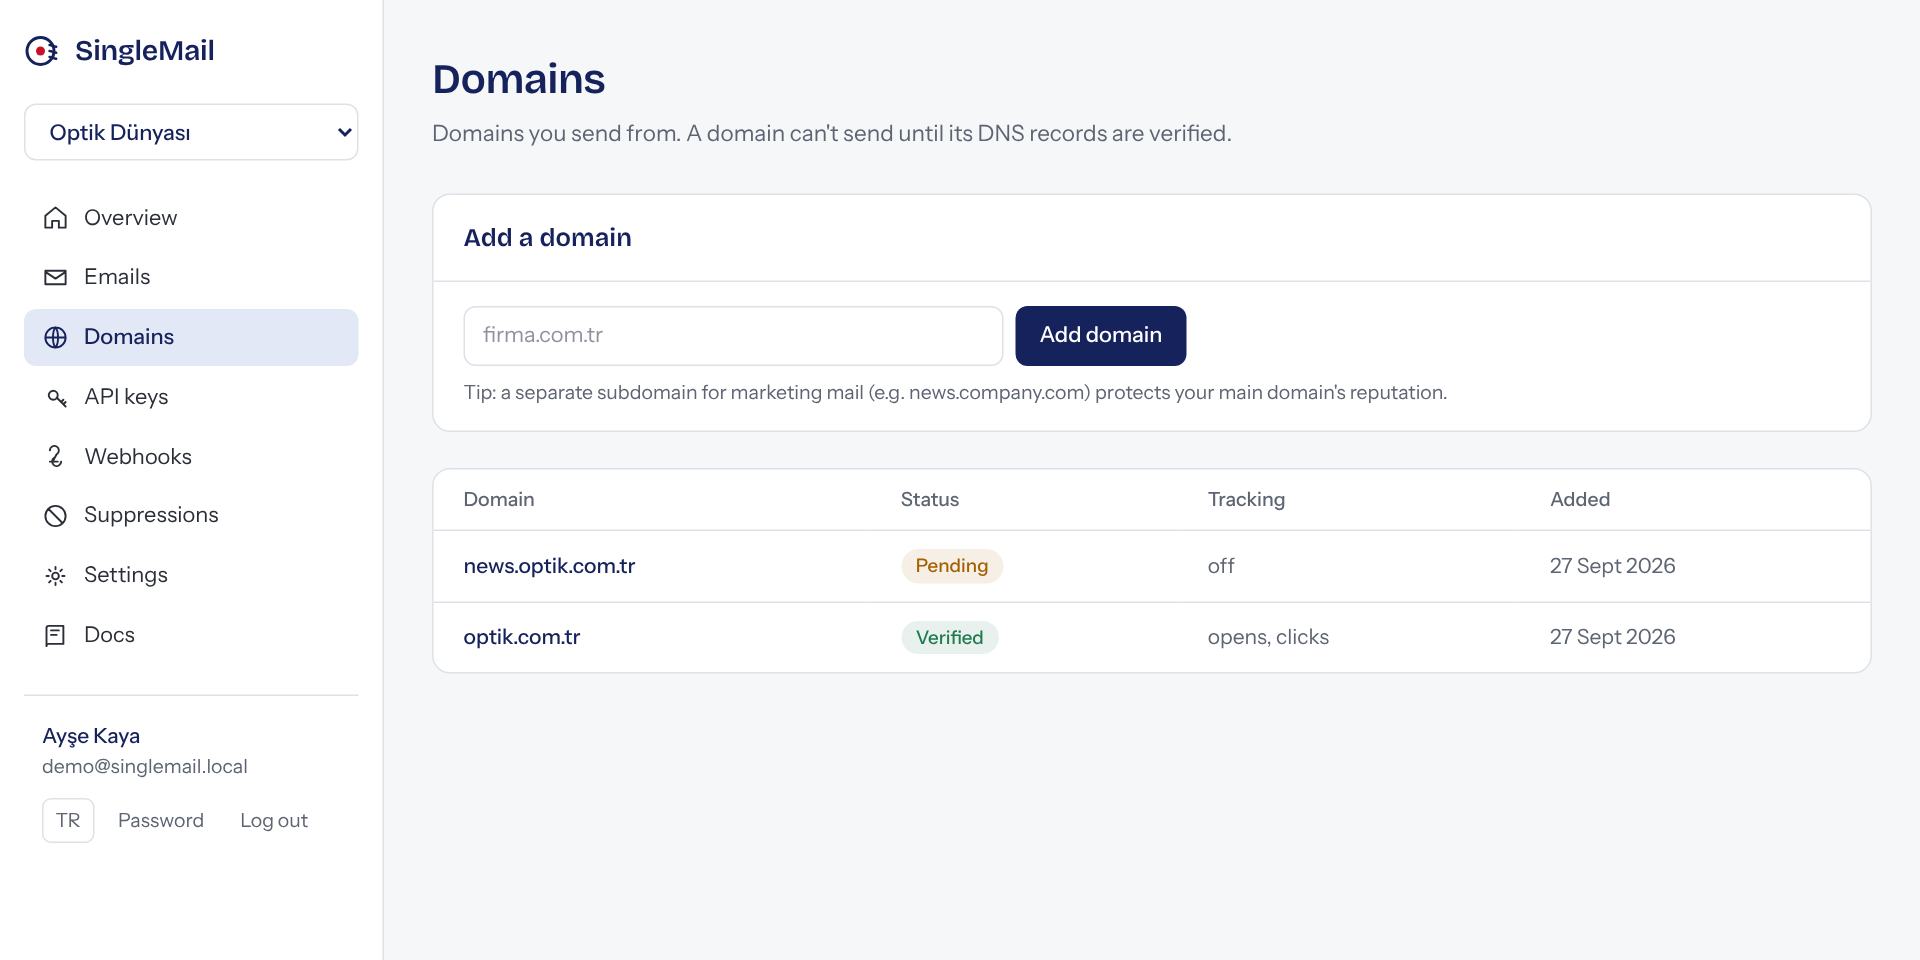 Tip: use a separate subdomain for newsletters and campaigns (e.g.
news.firma.com). If a campaign draws complaints, your password-reset emails are unaffected.Add the DNS records and verify
The domain page lists four records. Copy each one into your DNS provider (Cloudflare, GoDaddy, Natro, isimtescil …) with the Copy buttons, then press Verify DNS records.
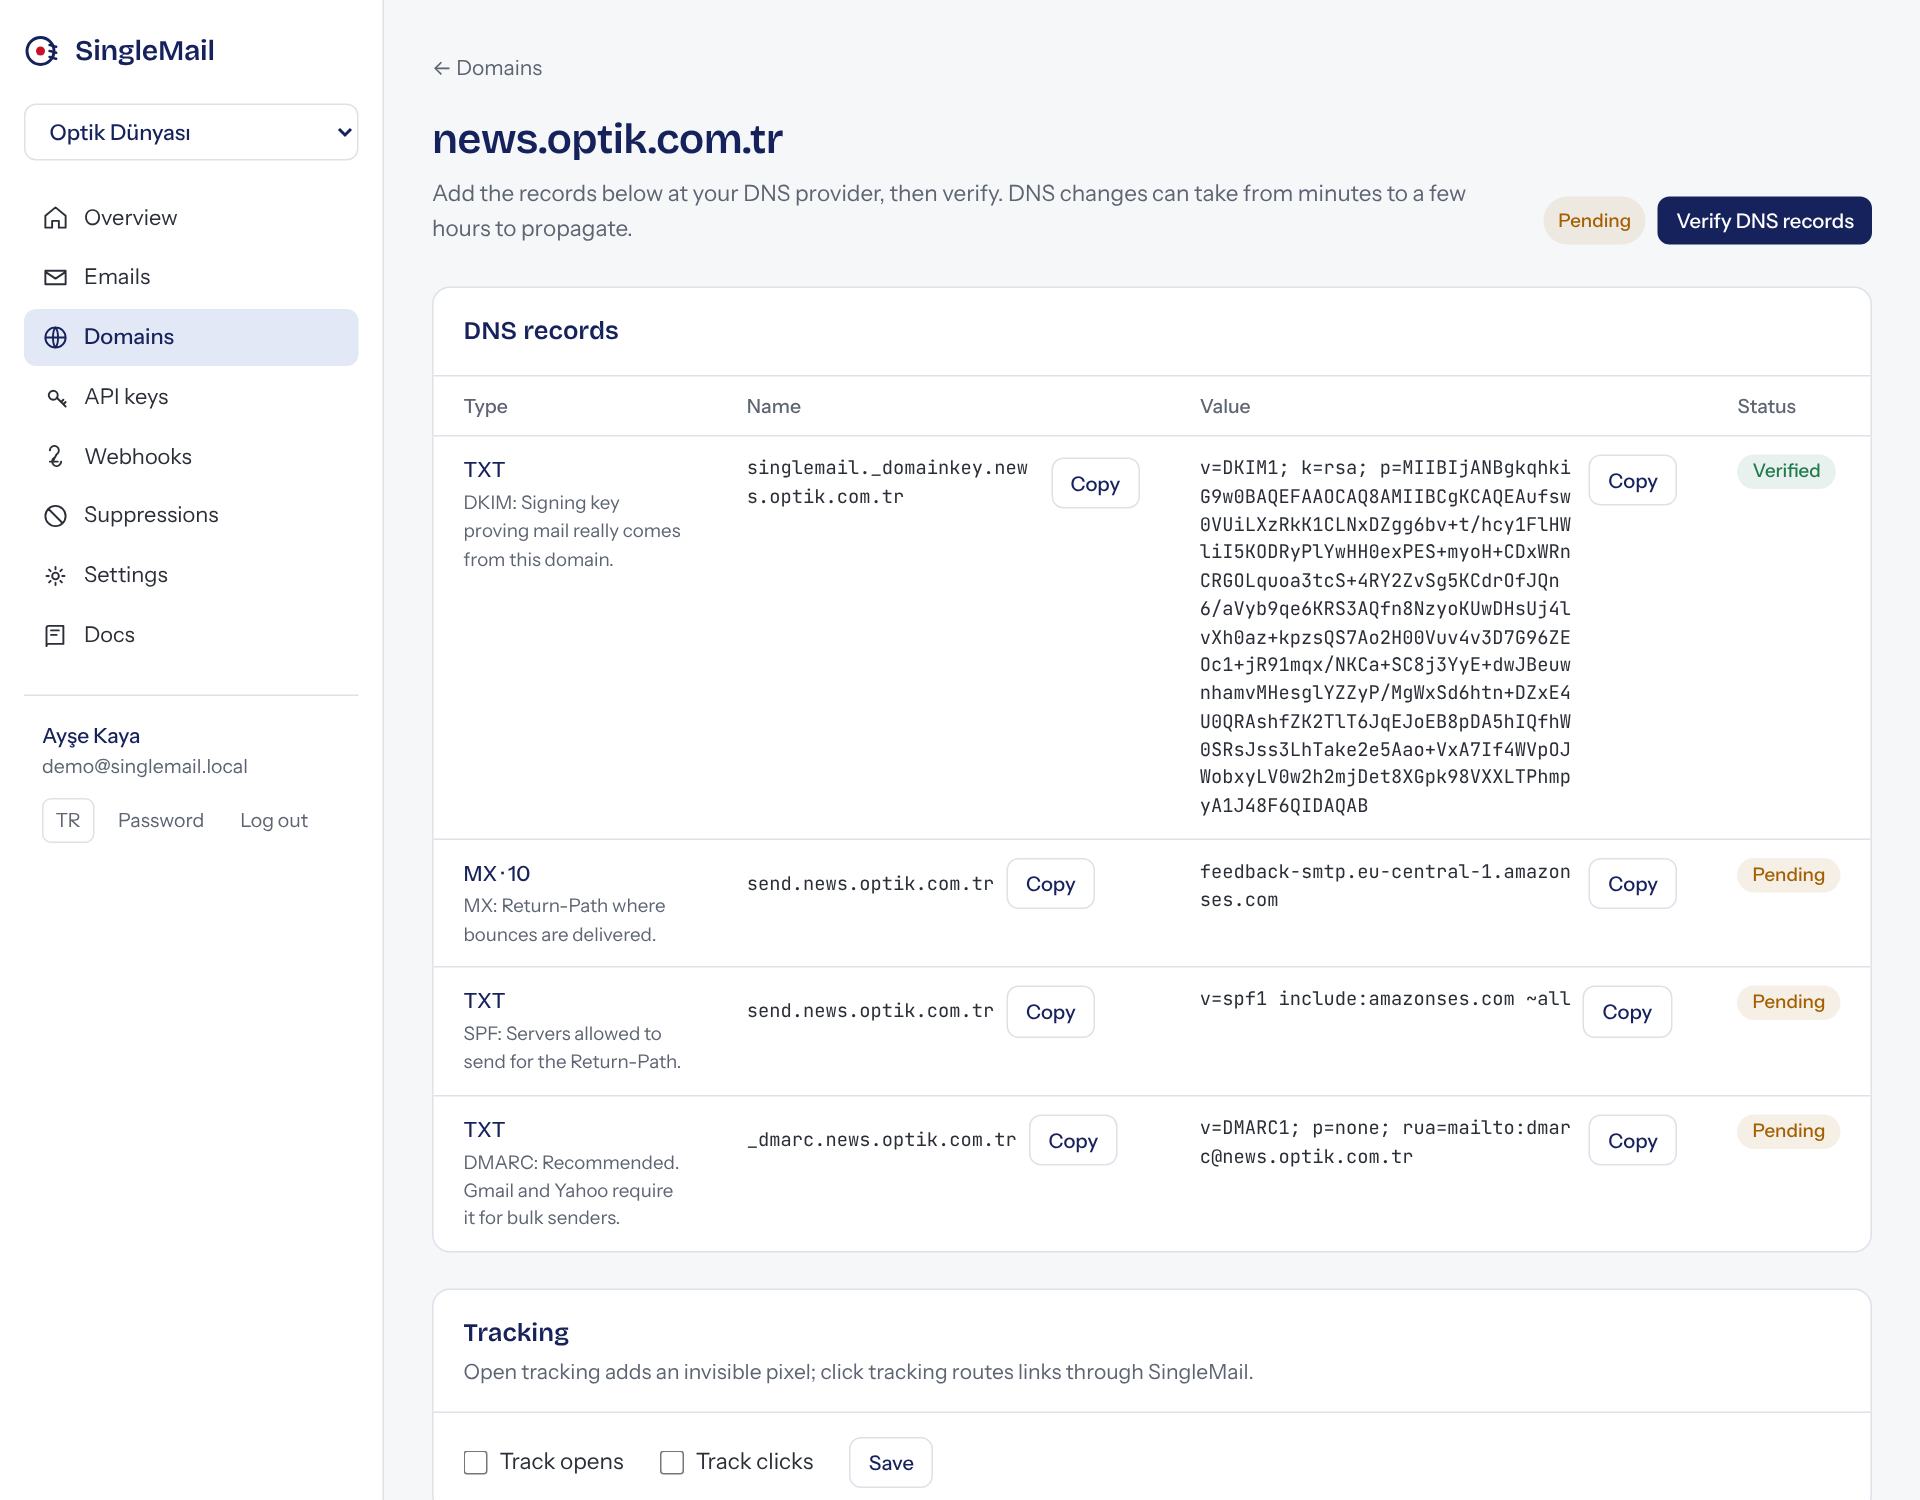
Verified records turn green; pending ones stay orange. DKIM, the Return-Path MX and SPF are required; DMARC is recommended. DNS changes can take minutes to a few hours to propagate. If a record is still pending, verify again a little later.
On Cloudflare, keep the proxy (orange cloud) off for these records; they must be DNS-only.Create an API key
Give the new key a name (e.g. “Production server”). It's shown only once on this screen, so copy it into your application's environment right away.
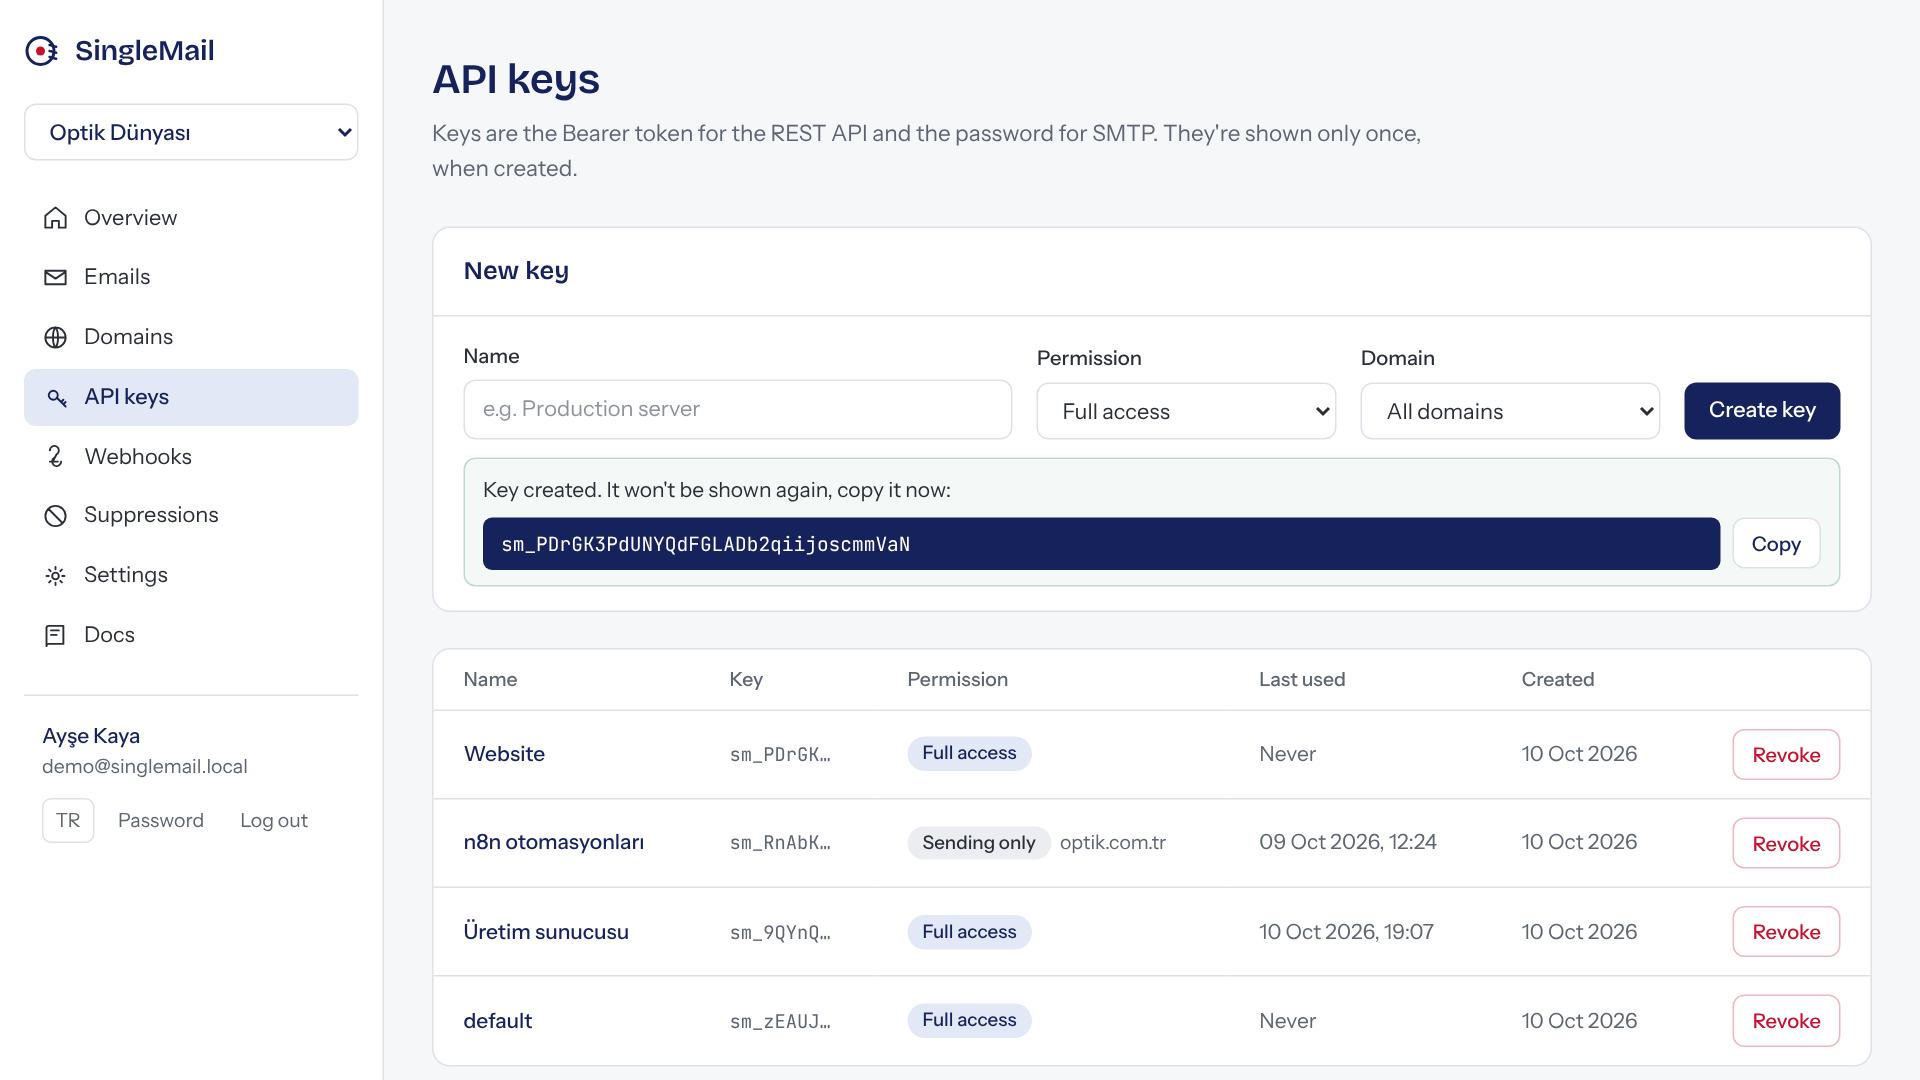
For apps that only send email, choose Sending only and lock the key to a single domain. Even if the key leaks, nobody can change your domains or webhooks with it.
Send your first email
Try it from a terminal:
terminalcurl https://api.singlemail.singleton.com.tr/emails \ -H "Authorization: Bearer sm_…" \ -H "Content-Type: application/json" \ -d '{ "from": "Destek <destek@firma.com>", "to": "siz@ornek.com", "subject": "SingleMail works", "html": "<p>My first email.</p>" }'Or with the Node.js SDK:
send.tsimport { SingleMail } from "@singlemail/node"; const sm = new SingleMail(process.env.SINGLEMAIL_API_KEY, { baseUrl: "https://api.singlemail.singleton.com.tr" }); const { data, error } = await sm.emails.send({ from: "Destek <destek@firma.com>", to: "siz@ornek.com", subject: "SingleMail works", html: "<p>My first email.</p>", }); console.log(data?.id ?? error);A successful request returns
{ "id": "…" }. The email is queued and goes out within seconds.Check the result in the panel
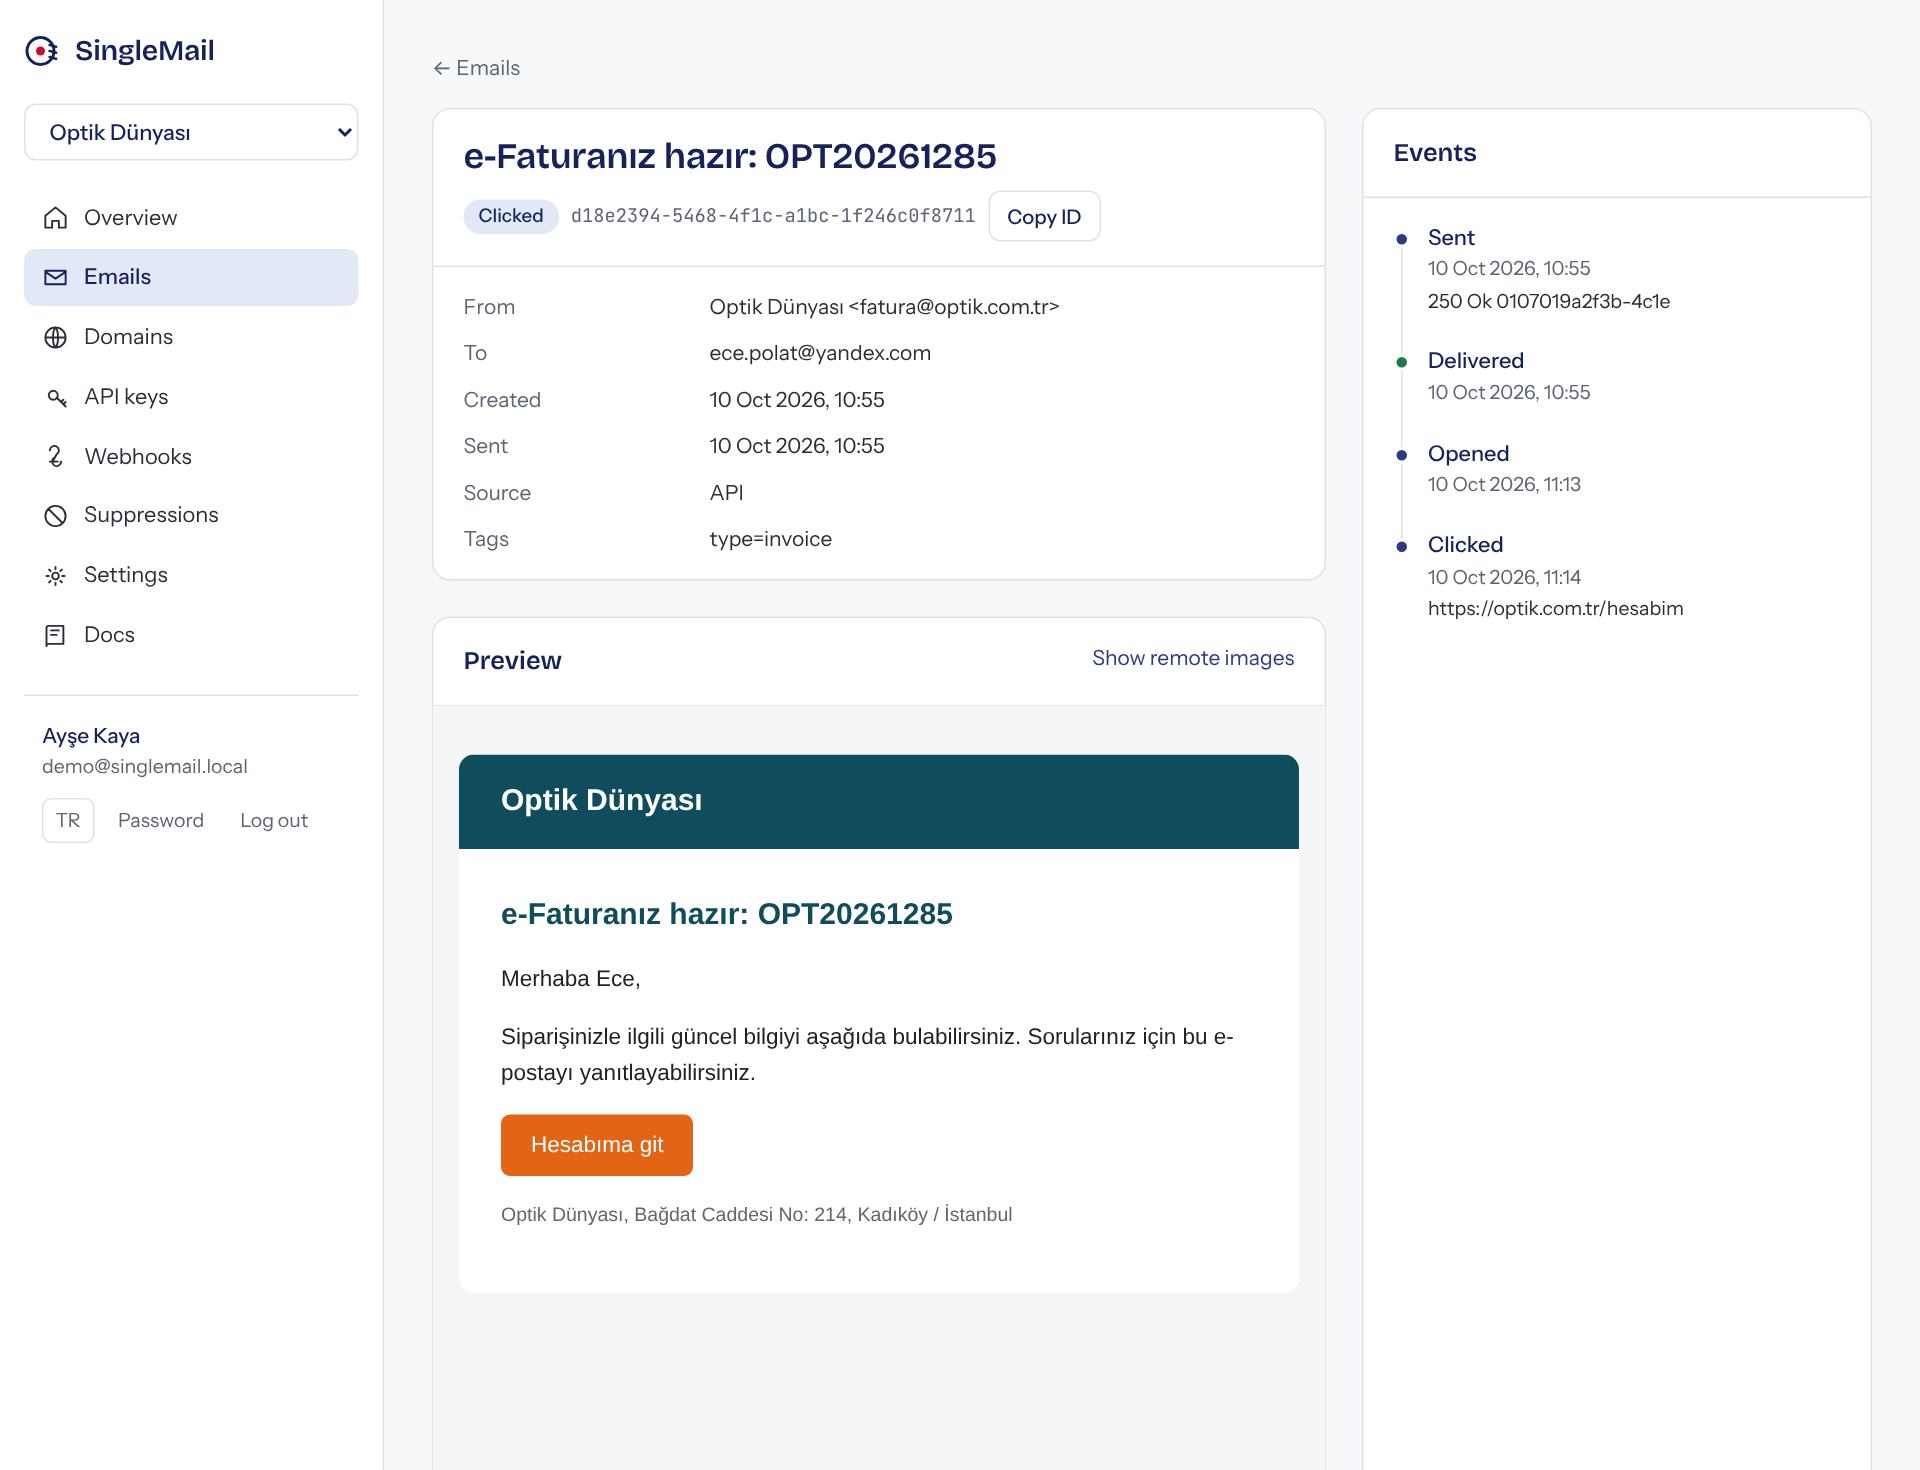
The Emails page lists everything you've sent with its latest status. Click a row to see the HTML preview and the event timeline.
Next steps
To receive delivery results in your own system, set up webhooks. For other languages and SMTP, see Integrations.